Introduction
You’ve successfully built your application, and now you’re looking forward to deploying it! This blog covers the basics of AWS EC2, setup, and deployment.
Setup an AWS EC2 Instance
What even is EC2?
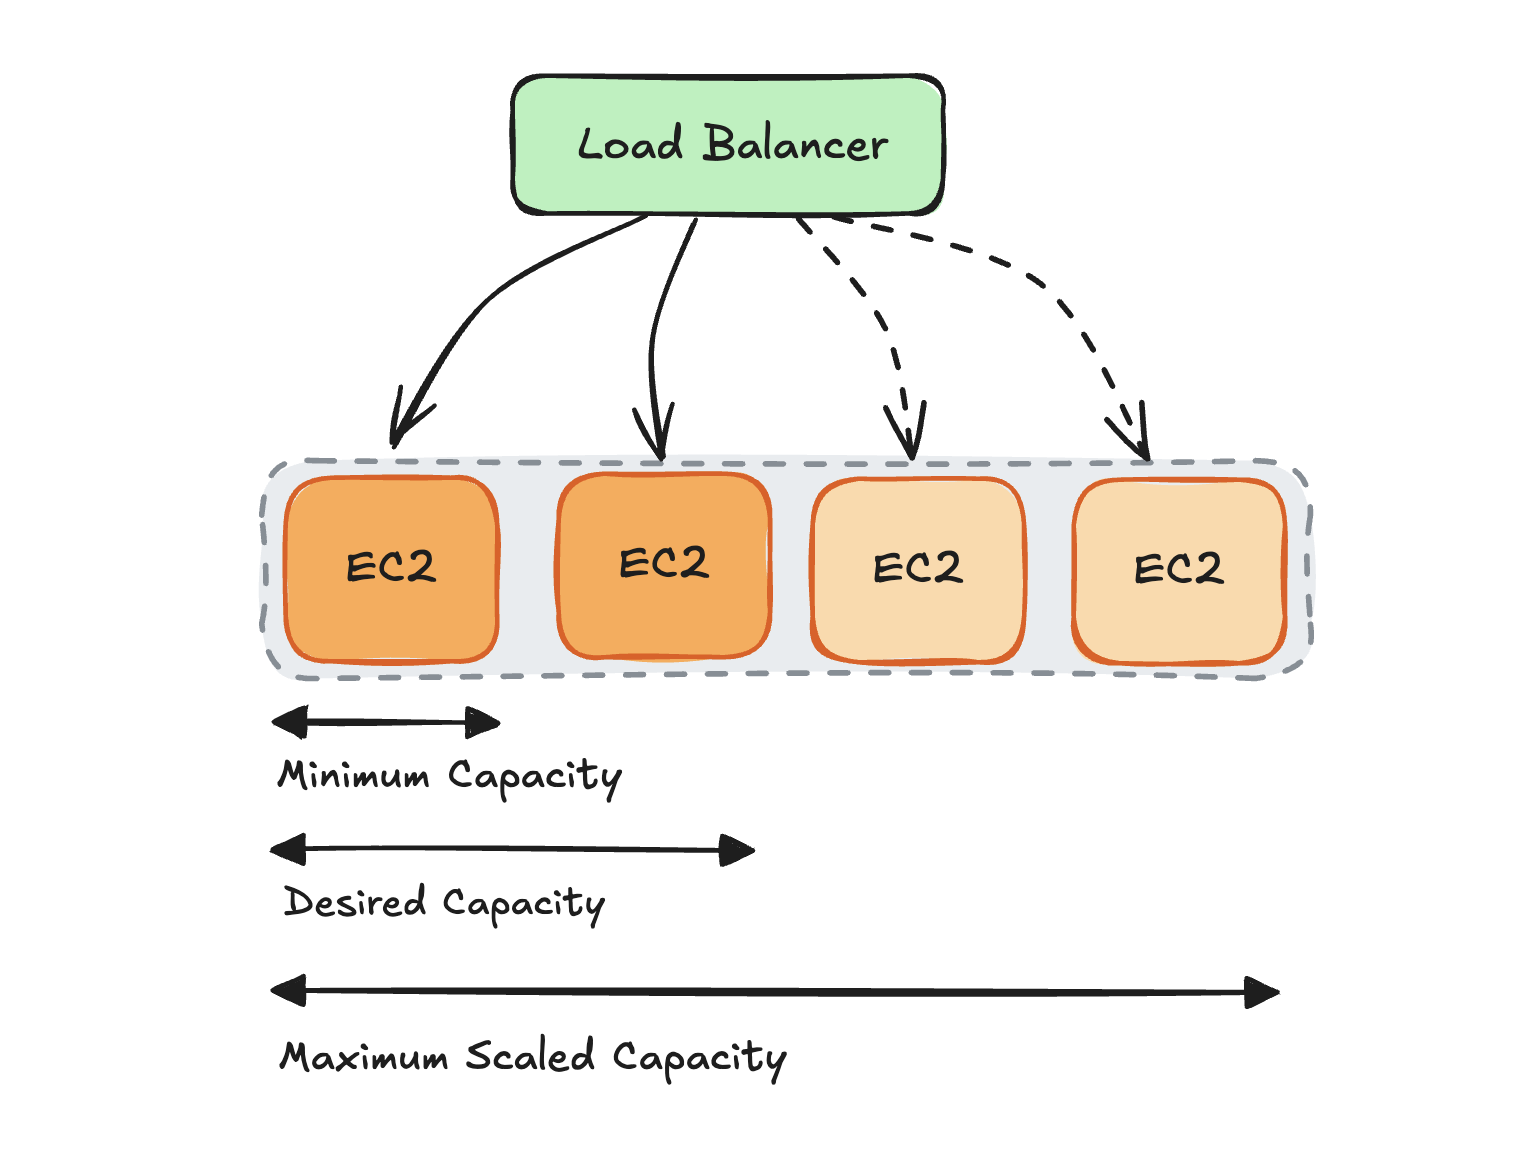
EC2 stands for Elastic Cloud Compute and is a virtual machine where you can deploy your applications. What’s so cool about it? It allows for easy scaling to handle more requests coming into your application when the need arises, making it easy to handle varying demand. It’s also quite versatile, making it a great choice for developers.

Why are we using it?
It’s simple, ease of use, and quick setup makes it a great first choice for those getting started with development. Above all, it’s cheap because of “on-demand” scaling helping to only pull out the big guns when absolutely required. Alternatively, we could also use an Azure VM or the Google Cloud Engine (GCE) to deploy our app, which I will cover in later blogs.
Getting Started
Let’s set up the AWS instance and connect to it via SSH.
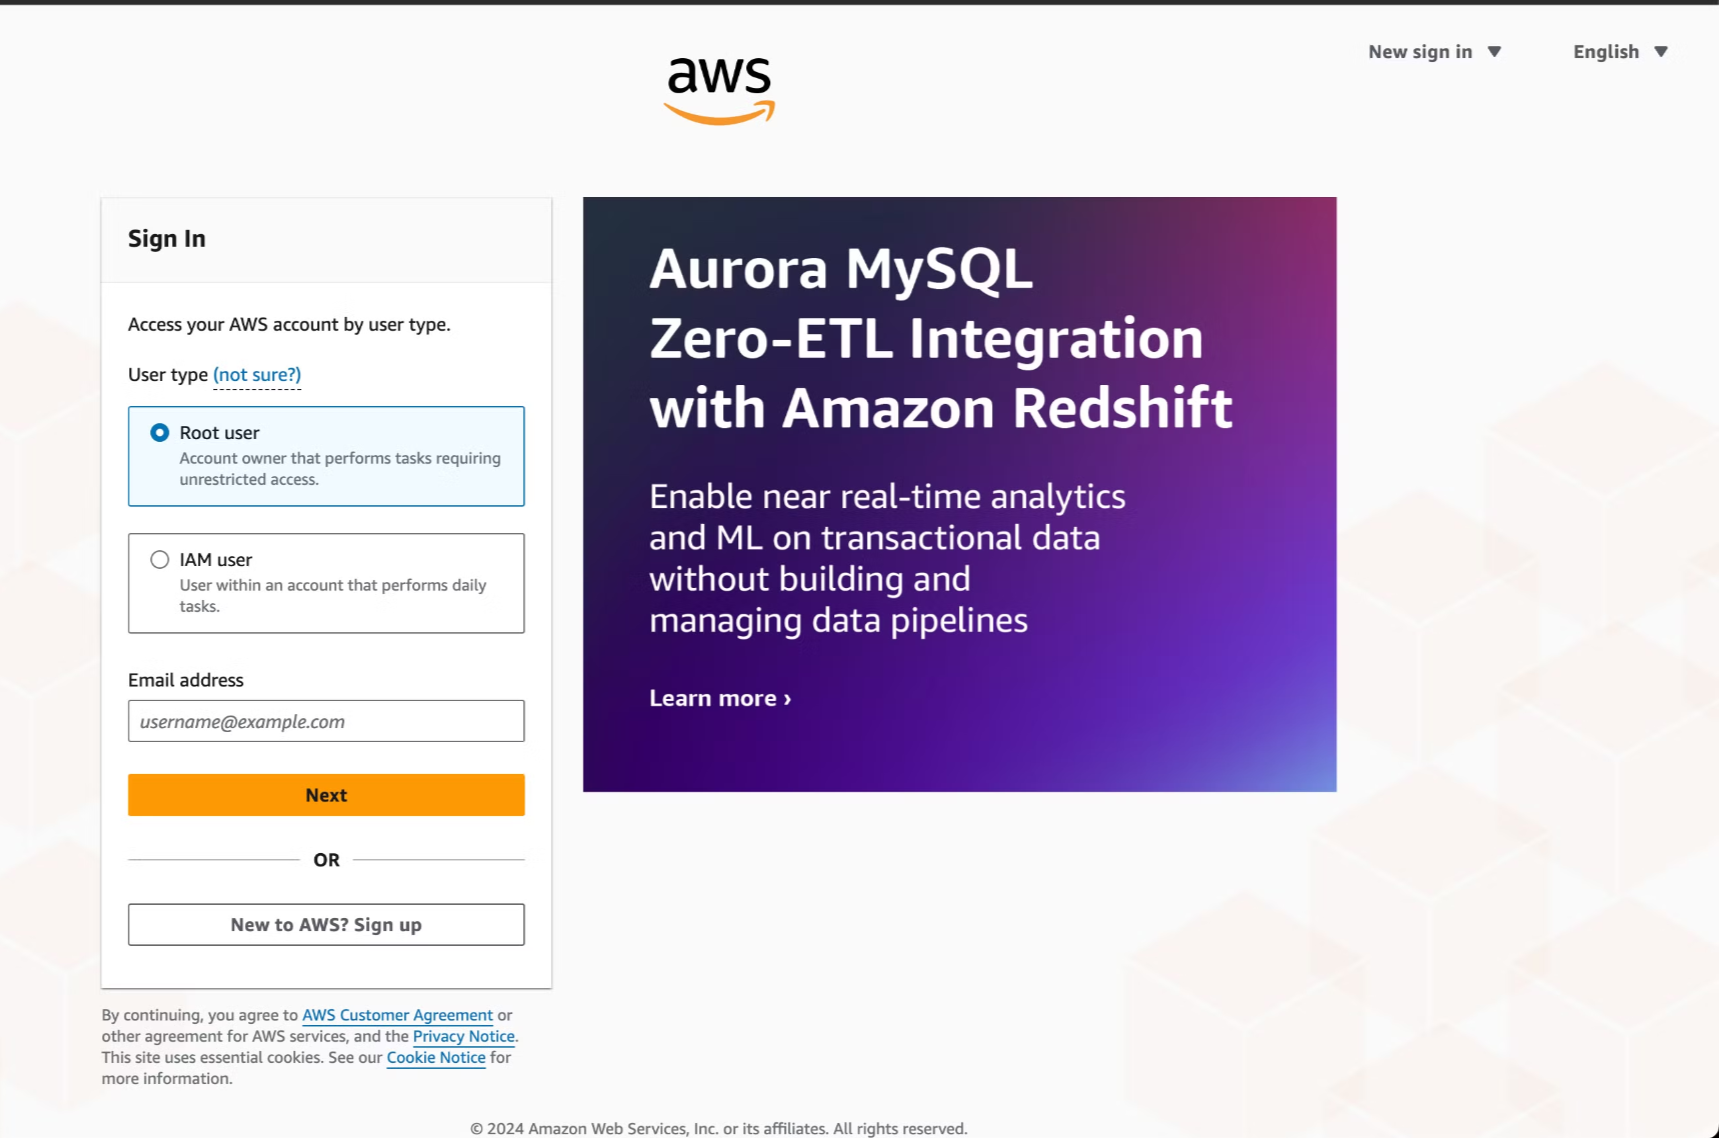
1. Login to your AWS account (Root User)

2. Launching an instance
Under the EC2, choose launch instance. For this application, we will use AWS Linux as our OS Image due to its tight integration with AWS and ease of use. Alternatively, you could also use Ubuntu but will have to make some changes (apt-get vs. yum) for the next steps during installing dependencies.
Choose t2.micro for instance type – simplest instance, and is very cost effective. If your application is quite large and compute intensive, shift to t2.medium for ensuring enough memory capacity.
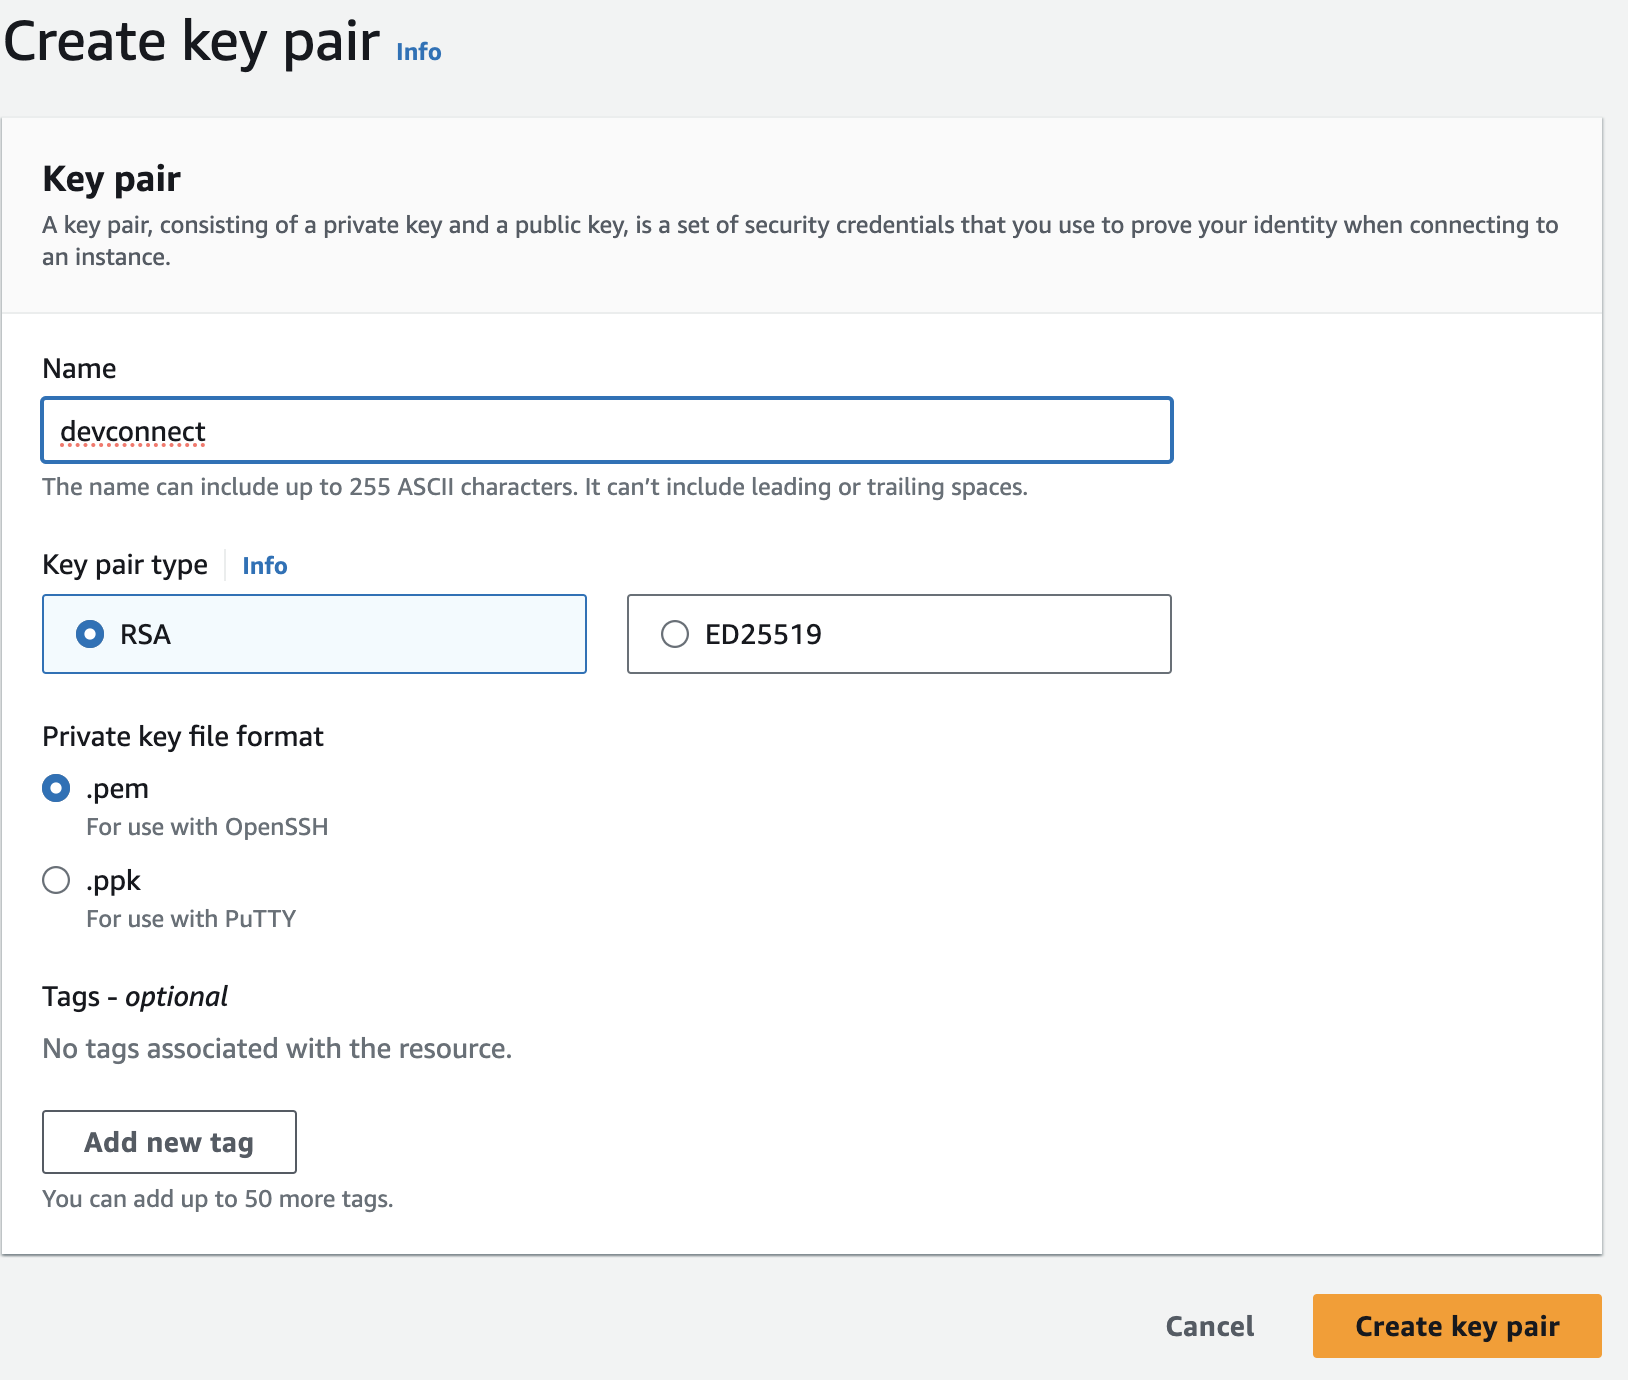
We create a new key pair, which will enable us to connect to our instance through SSH and get started with setting up. A .pem file will be downloaded to your local machine.

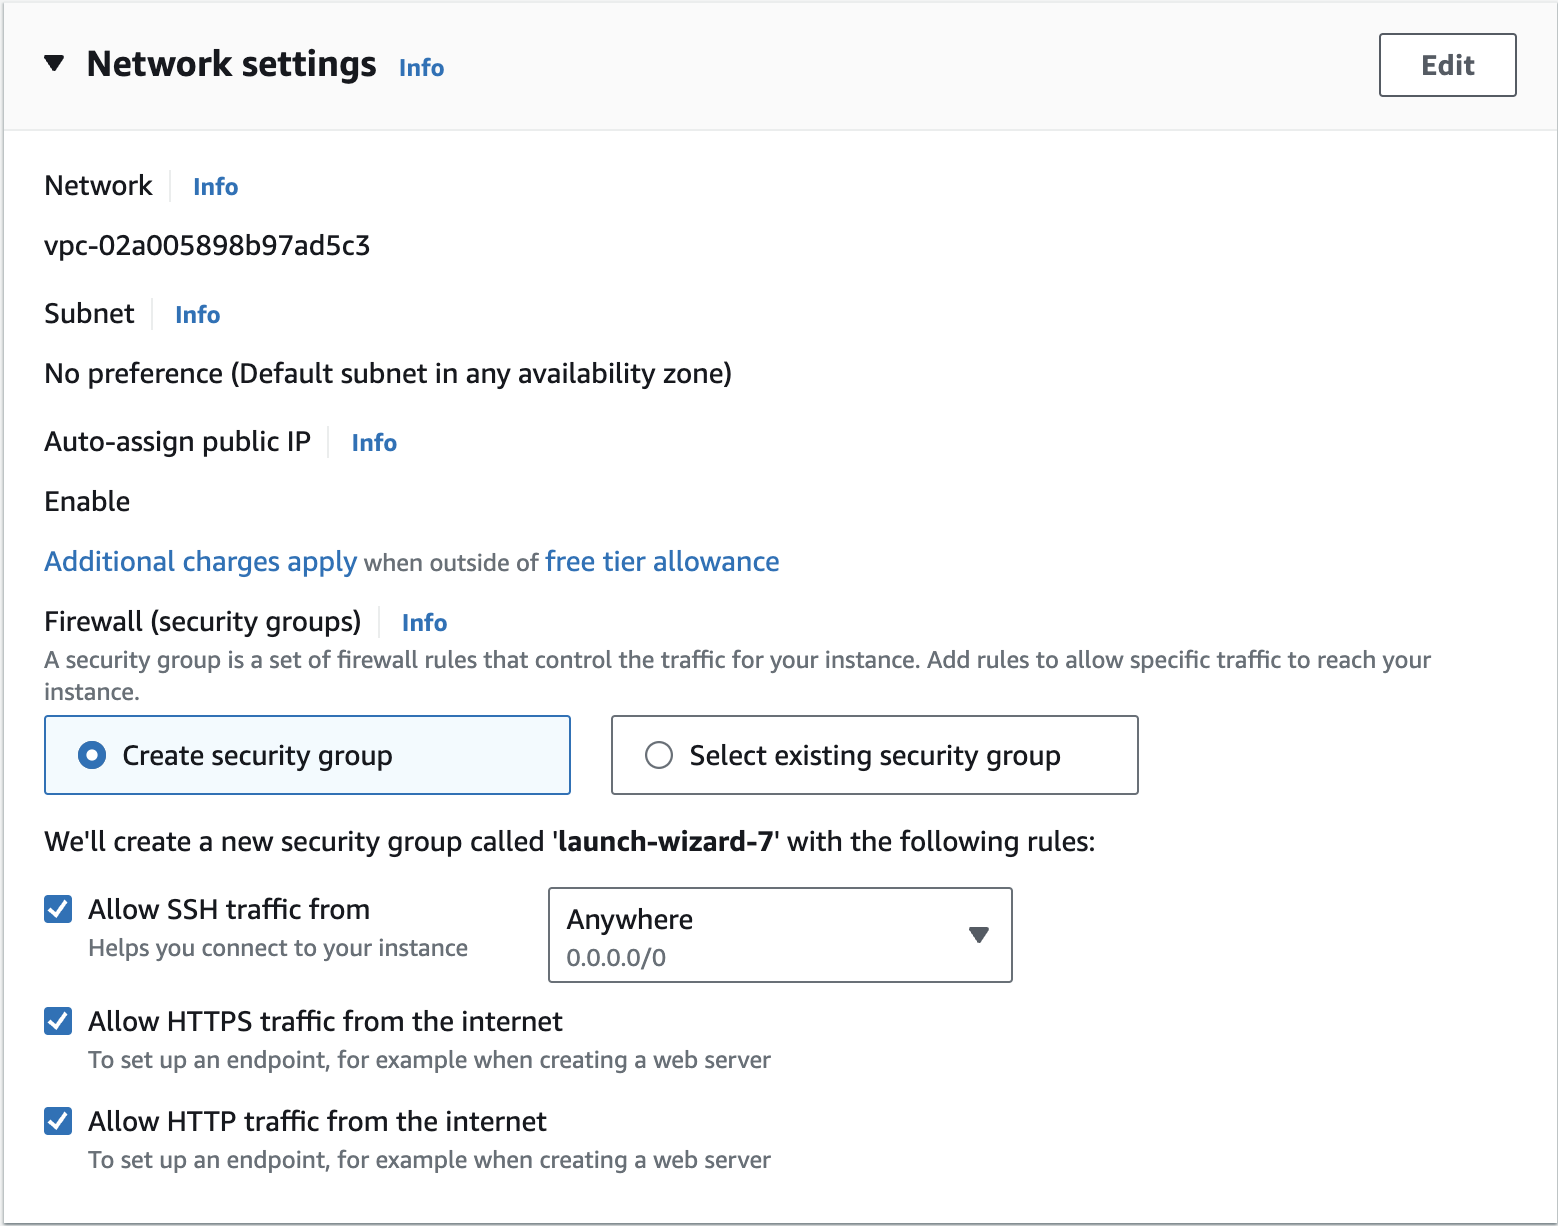
We allow all traffic, so we can access the instance from anywhere. We will be adding some inbound rules later on to make our port accessible to the public DNS.

3. Connecting to Instance (SSH)
To connect, you must first download the .pem file from when you set up the EC2 instance. Execute the below commands.
chmod 400 <path/to/security-key.pem> #read permissions

ssh -i <path/to/security-key.pem> ec2-user@ec2-<Ipv4 Address>.compute.amazonaws.com
Installing Dependencies
The dependencies we will require include:
- node
- git
- nginx
- pm2
Ensure all packages are up-to-date
Ensure all packages are up-to-date
sudo yum upgrade && sudo yum update
# Installing Node

curl -o- https://raw.githubusercontent.com/nvm-sh/nvm/v0.34.0/install.sh | bash
. ~/.nvm/nvm.sh
nvm install node

node -v
# v22.9.0
# Installing and Setting up Git

yum install git -y

ssh-keygen -t ed25519 -C "your email"
eval "$(ssh-agent -s)"
ssh-add ~/.ssh/id_ed25519

cat ~/.ssh/id_ed25519.pub
ssh-keyscan github.com >> ~/.ssh/known_hosts
ssh -T git@github.com

git clone <Your Repository>
# Installing pm2 and nginx

npm install -g pm2

sudo yum install nginx -y
sudo systemctl start nginx
sudo systemctl status nginx
Deployment
We will use nginx as a reverse proxy forwarding all inbound calls from port 80 to our application. For now, we will only focus on HTTP. Now, under /etc/nginx/sites-available/ modify the default config.
server {
    listen 80;
    server_name your-server-ip-or-domain;

    location / {
        proxy_pass http://127.0.0.1:3000; # Replace with your app's port
        proxy_http_version 1.1;
        proxy_set_header Upgrade $http_upgrade;
        proxy_set_header Connection 'upgrade';
        proxy_set_header Host $host;
        proxy_cache_bypass $http_upgrade;
    }
}
We test the nginx config and restart to apply new changes.
sudo nginx -t
sudo systemctl restart nginx
To learn more about nginx, refer this guide.
Finally, we use pm2 to ensure that the application runs continuously and restarts automatically if it crashes.
pm2 start app.js --name "my-app" # Replace `app.js` with your main file name
pm2 save

pm2 list # Shows if the app is running
pm2 log # Check deployment log

pm2 save # Save process list to enable auto-restart on server reboot
pm2 startup systemd # Generate startup script for reboot
You should now be able to access the application through the Ipv4 DNS of your server!